Introduction
I recently purchased the Nuphy Air75 keyboard and encountered an issue with Karabinar Elements mapping. In this post, I’ll explain how to resolve this problem by enabling the modify events feature in Karabinar Elements.
Solution
To make your Nuphy keyboard work with Karabinar Elements, follow these steps:
- Open Karabinar-Elements Settings.
- Navigate to the
Devicestab. - Enable the
Modify eventsoption for the Nuphy Keyboard.

Additional Information
If you’re interested in purchasing the Air75 keyboard, you can use my affiliate link to get a 10% discount: Nuphy Affiliate Link.
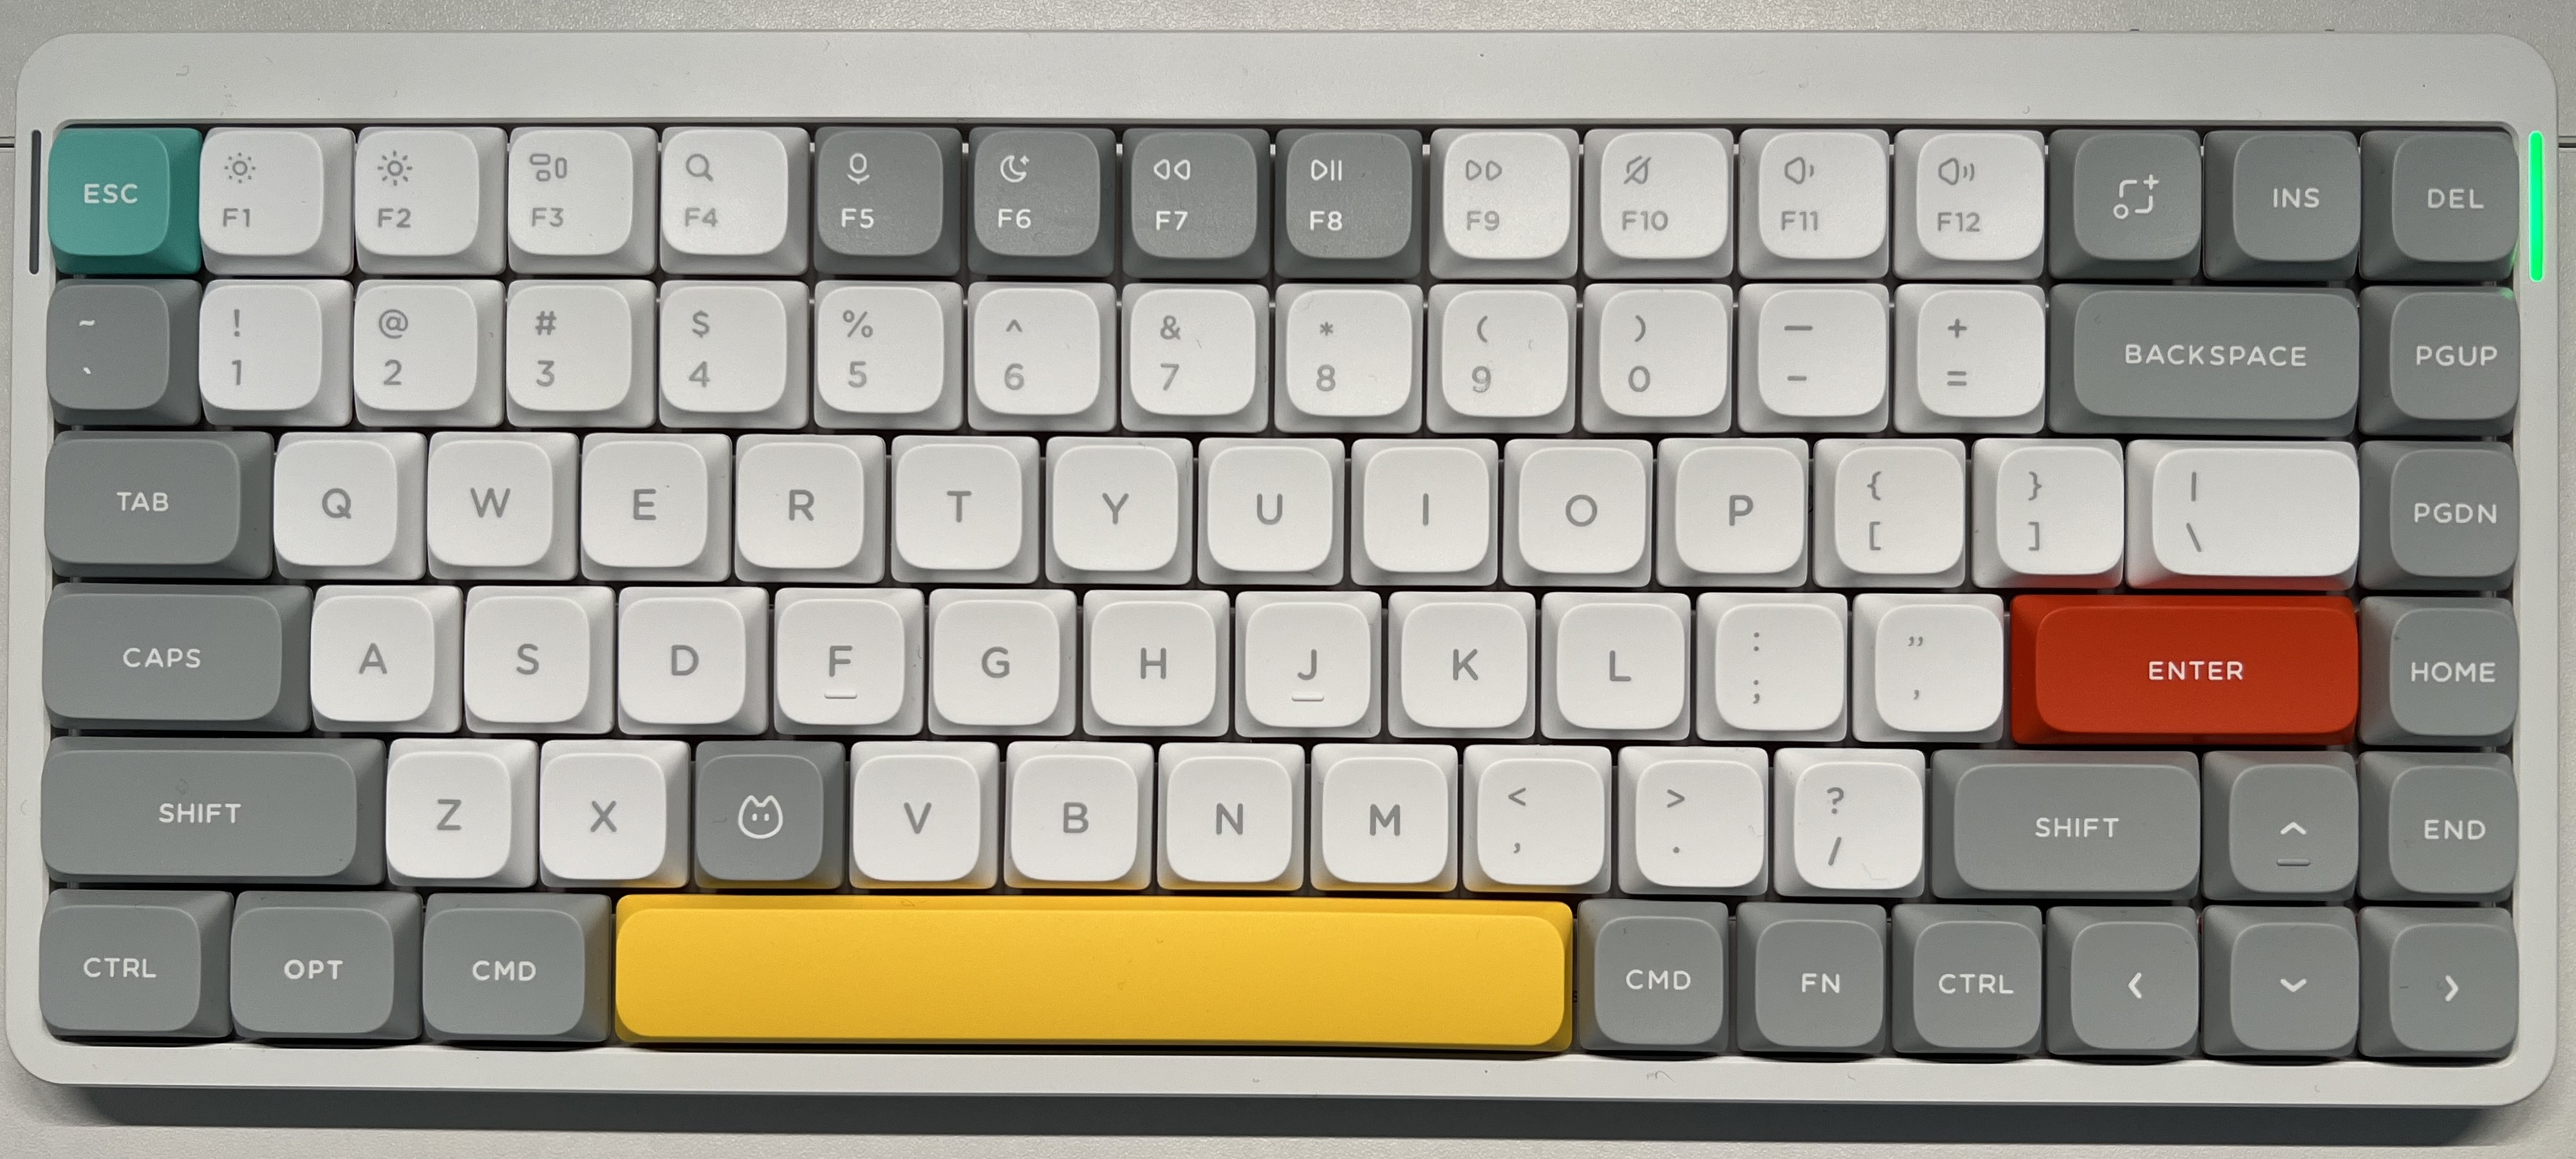
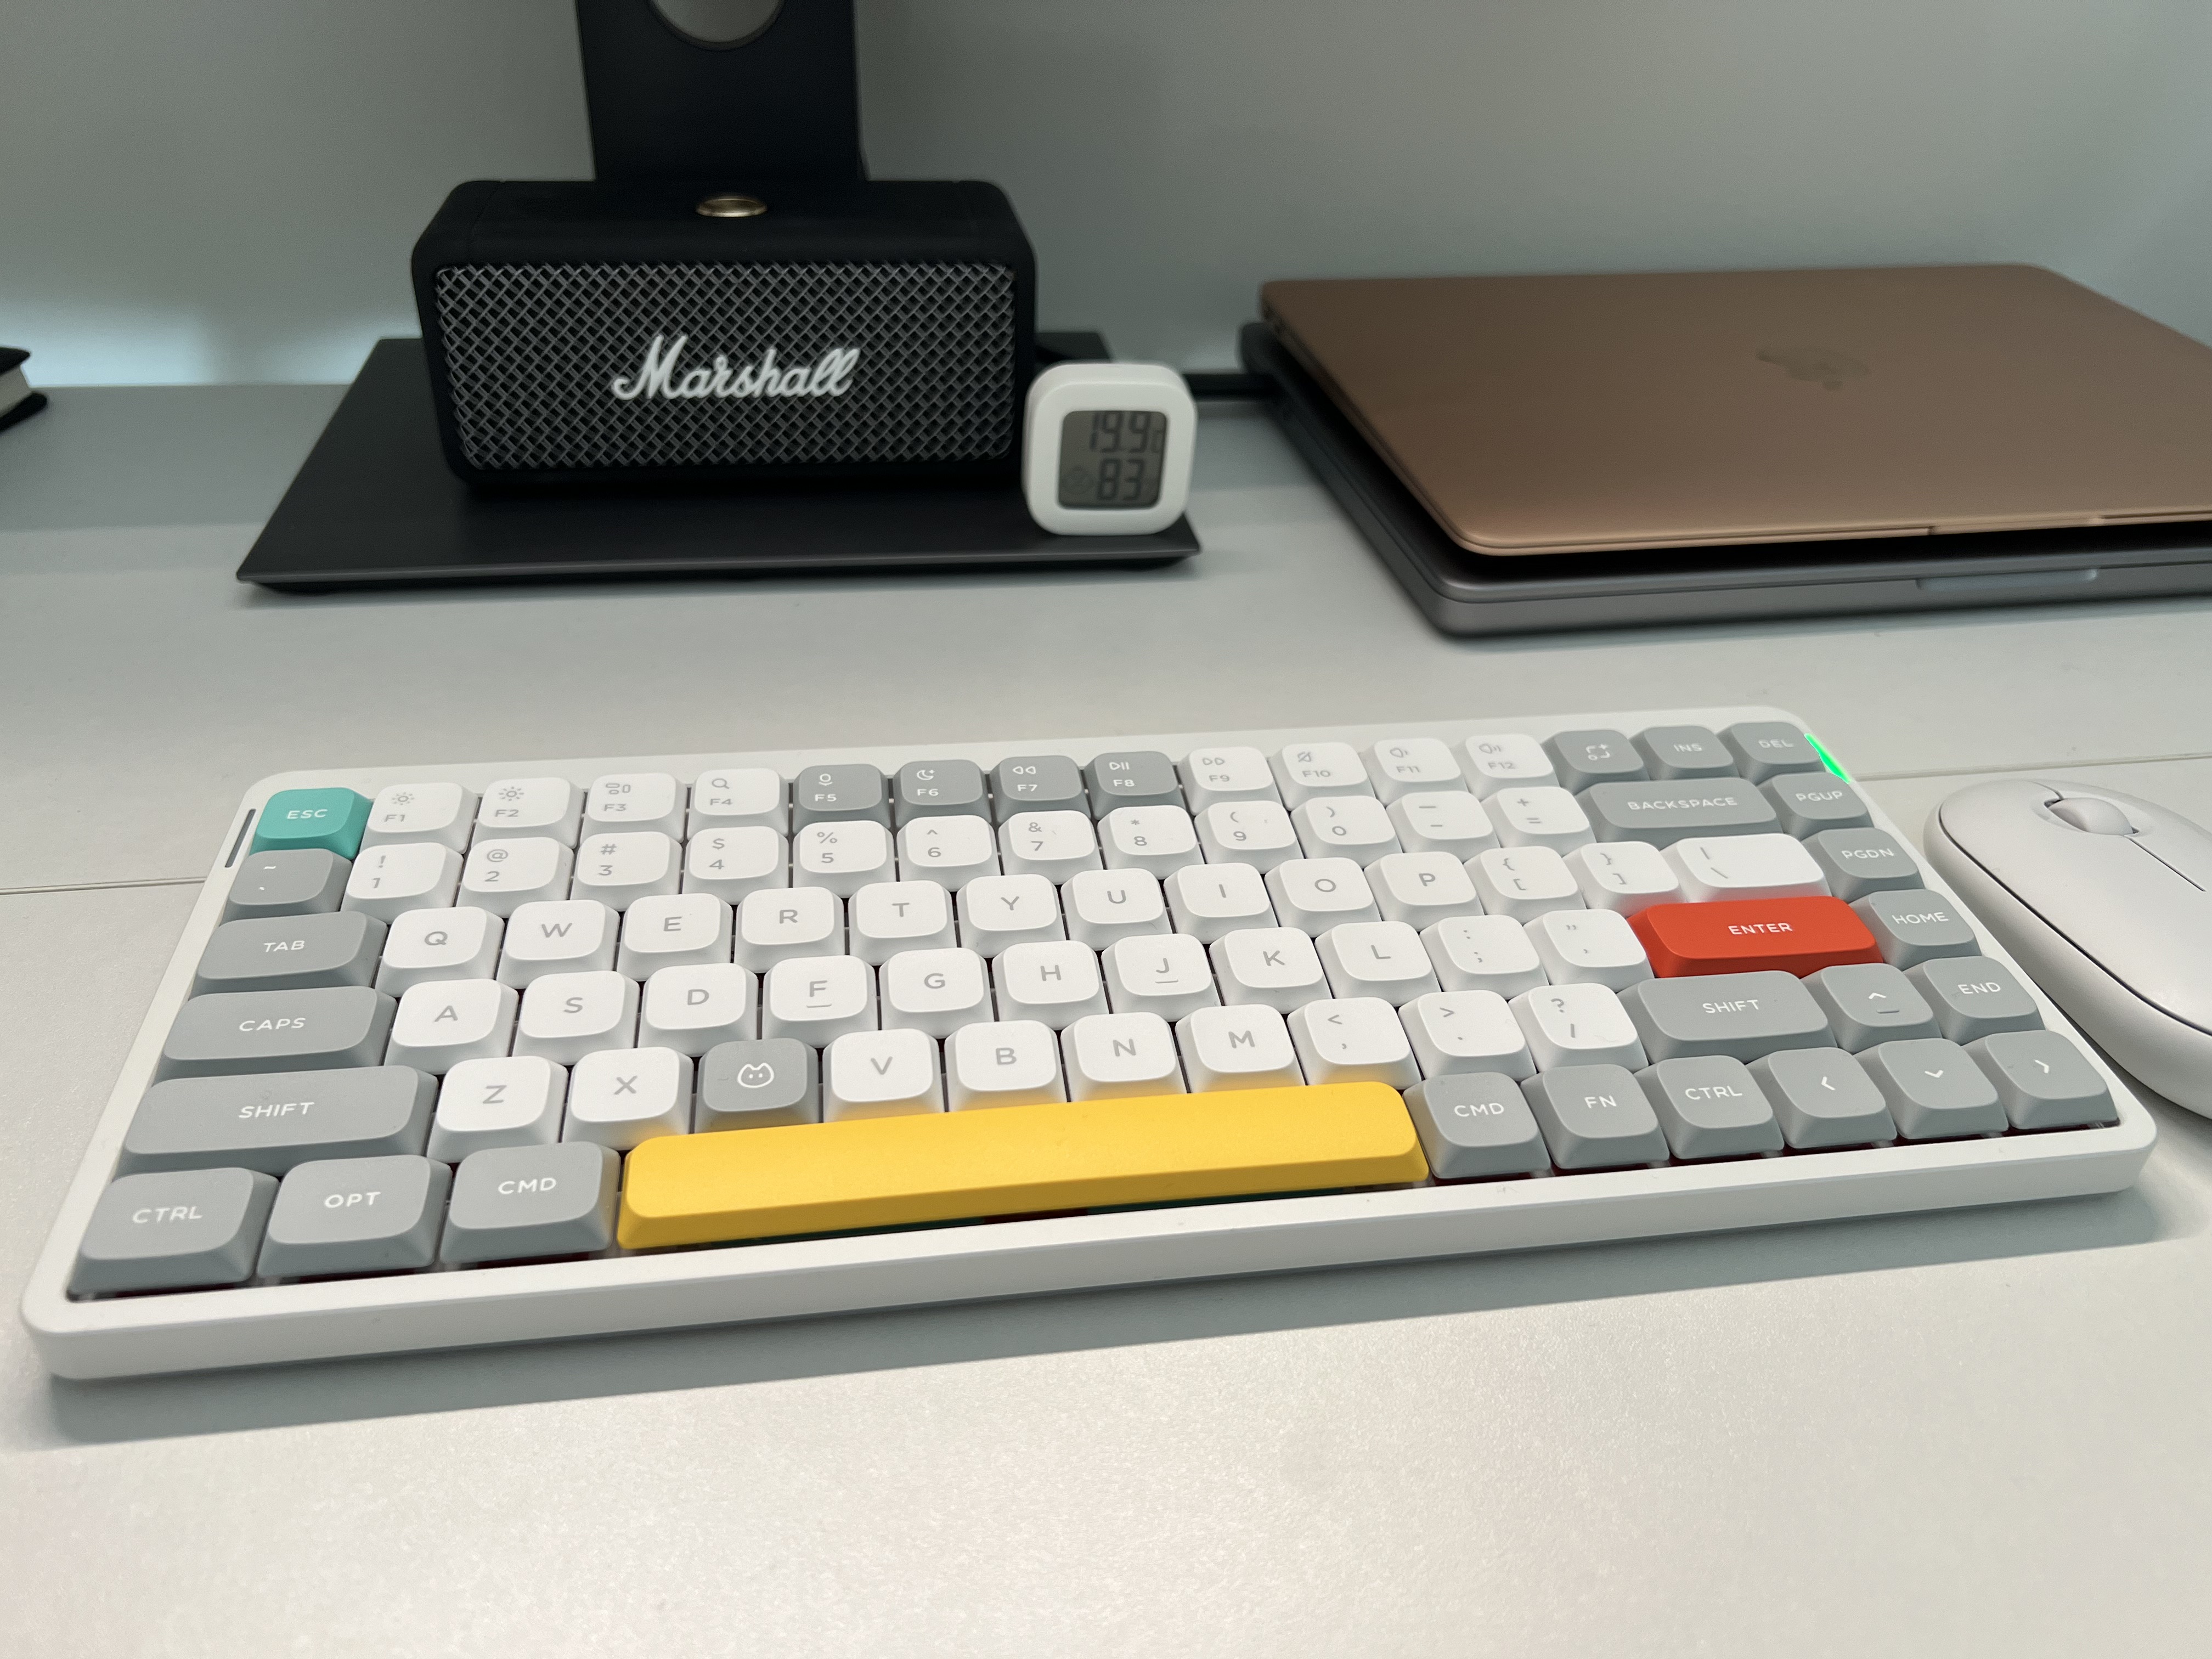
Here’s a top view of my Air75 keyboard: